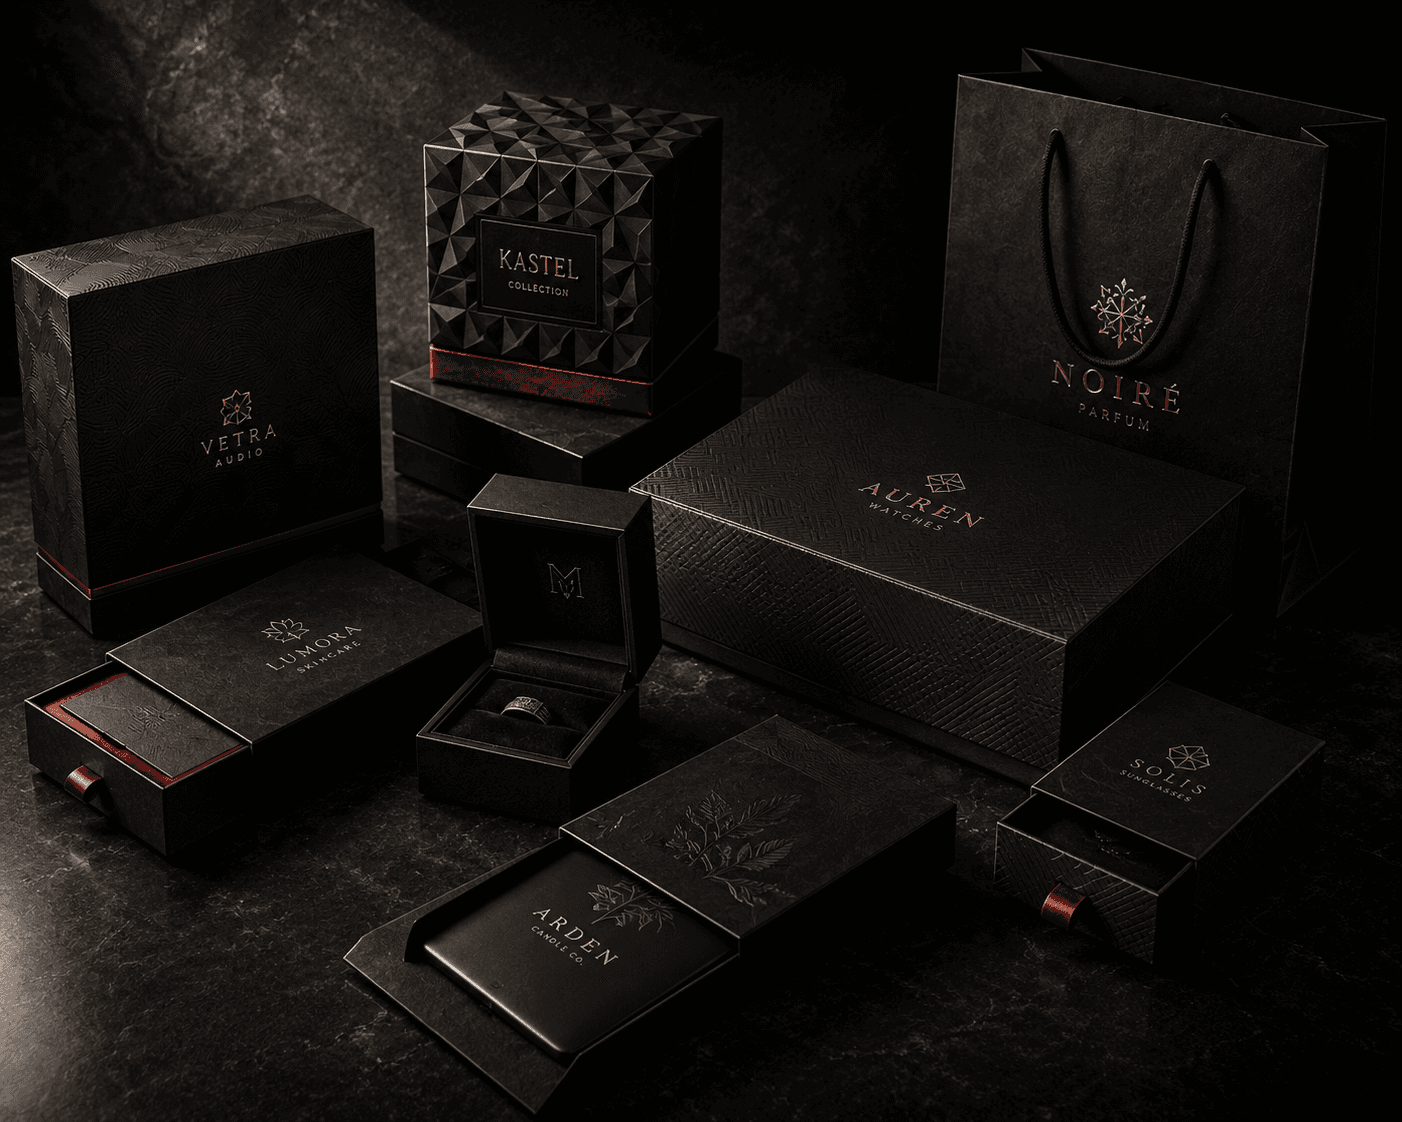
How to Choose Custom Packaging for Your Brand
Choosing the right custom packaging comes down to a handful of structural, material and finish decisions. Here's how to make them well.
Packaging is the first physical thing a customer touches from your brand — before the product, before the unboxing video, before the five-star review. It sets an expectation in the first few seconds, and that expectation is either met by what's inside or it isn't. Getting it right isn't about picking the most expensive box. It's about making a series of deliberate decisions, in the right order.
This guide walks through those decisions the way we'd walk through them with a brand ordering packaging for the first time.
Start With the Product and the Customer, Not the Box
Before any conversation about materials or finishes, three questions decide almost everything else:
- What are you shipping? Weight, fragility and dimensions determine how much structural protection the box actually needs.
- Who is opening it, and where? A box picked off a retail shelf is doing a different job than a box arriving on a doorstep as a subscription delivery or a gift.
- How is it distributed? Direct-to-consumer shipping, retail distribution and point-of-sale display all put different physical demands on packaging.
Answer these first. The structure, material and finish decisions that follow should all trace back to these answers — not the other way around.
Choosing the Right Box Structure
Structure follows function. For most product packaging, brands are choosing between two dominant families: rigid set-up box construction and folding carton construction. Beyond these two, formats like mailer boxes, display boxes and subscription boxes solve for a specific job — shipping durability, shelf visibility, or a repeat-unboxing experience — and are worth a look if your packaging needs to do more than hold a product.
We cover the rigid-versus-folding-carton decision in detail in a dedicated comparison, but the short version is this: rigid boxes deliver a heavier, more premium unboxing moment and suit lower-to-mid production volumes; folding cartons stay fully custom-printed while becoming more cost-efficient as order volume increases. If your product doesn't fit neatly into either category — an odd shape, an unusual size, a mix of components — a custom product box built around your exact dimensions is usually the better starting point than trying to force it into a standard format.
Get the Dimensions Right Before Anything Else
The single most common source of a disappointing first production run is a box sized from an estimate instead of the actual product. Measure the real, finished product — including any inserts, tissue paper or accessories going in with it — and build the tolerance in from there.
A box that's too large looks flimsy, wastes shipping volume and lets the product shift in transit. A box that's too tight makes packing difficult and risks damage on insertion. This is exactly why a structural dieline, and where it's offered, a 3D render before production, matters: it catches sizing problems on screen instead of on a full production run.
Materials: What the Board Is Actually Doing
Material choice isn't just a look — it's a structural decision that affects weight, cost and how the box performs in transit.
- SBS Board — bright white with a flawless print surface. The standard baseline for premium, high-fidelity print.
- FBB Board (Folding Boxboard) — a strong, cost-efficient balance of rigidity and weight, common in folding cartons.
- Rigid Chipboard — a dense 2mm–3mm core wrapped in a separate paper, velvet or leather-look layer. This is what gives rigid boxes their weight and premium hand-feel.
- Duplex Board — grey-backed and cost-effective at volume, with good structural strength for heavier products.
- Corrugated Board — added as a protective layer for fragile or heavier items, or used as the primary structure where shipping durability matters most.
- Kraft Board — a natural, unbleached aesthetic that reads as sustainable without needing to say so.
Choose material based on what the product actually weighs and how premium the box needs to feel in hand — not on price alone. A heavier product in a lightweight board will feel wrong before a customer even opens it.
Printing and Brand Consistency
Offset printing is the standard for retail-scale runs — it gives the highest-fidelity full-colour reproduction and holds up across large orders. Pantone (PMS) colour matching is what keeps your exact brand colour consistent from the first unit to the last, run after run. For short runs or early samples, digital printing avoids the plate setup costs that come with offset, making it a practical choice for testing before committing to a full order.
Colour consistency matters more than it seems: a box that's slightly off from your brand's actual colour palette undermines brand trust before the product is even seen.
Finishing: Where the Premium Feel Comes From
Finishes are what turn a printed box into a tactile brand experience:
- Foil Stamping — gold, silver or a custom colour, applied under heat and pressure. The most common decorative finish for a premium look.
- Embossing & Debossing — raises or recesses part of the design for a tactile, three-dimensional effect.
- Soft-Touch Matte Lamination — a velvet-feel exterior coating that changes how the box feels the moment it's picked up.
- Gloss Lamination — a high-shine, polished retail finish that makes colour pop.
- Spot UV — a selective gloss coating applied over a logo or design element for contrast against a matte surface.
- Holographic Foil — a high-impact finish for brands that want the box itself to stand out on shelf or on camera.
The mistake to avoid here is stacking every finish available onto one box. Pick one or two that reinforce the story you want the packaging to tell — a soft-touch matte with a single foil-stamped logo says something different than five finishes competing for attention.
Protection Has to Come Before Presentation
No amount of foil stamping matters if the product arrives damaged. Inserts — die-cut foam, moulded pulp or shaped cardboard — hold the product firmly in place and stop it moving during transit. Board weight and wall thickness should be matched to the product's actual weight, not chosen by default. For fragile or heavier items, a corrugated layer or a proper insert isn't an optional upgrade — it's the difference between a returned order and a repeat customer.
Shipping and Storage Are Part of the Design Brief
Folding cartons typically ship and store flat-packed, then get assembled at the point of packing — an efficiency that matters at scale, both for warehouse space and outbound freight cost. Rigid boxes are usually shipped pre-assembled or in a way that preserves their structural shape, which takes up more volume per unit.
If you're moving high volumes through a fulfilment centre, that flat-pack efficiency is a real, practical factor to weigh against the premium feel of rigid construction. And if the box itself is what a customer receives directly — a mailer-style format, for example — its outer dimensions also affect your outbound shipping cost.
Balancing Appearance, Function and Budget
Every material upgrade, every additional finish and every structural feature adds cost, and sometimes adds lead time. The practical approach is to decide what genuinely needs to be premium — the surfaces a customer sees and touches first — and where a simpler, unseen structural choice is perfectly fine. A quote broken down by structure, material and finish makes it easy to see exactly where the budget is going, and to adjust before committing to a full production run.
Common Mistakes to Avoid
- Designing the box before finalising product dimensions. This is the single most common cause of a mis-fitting first run.
- Choosing finishes based on trend rather than brand fit. A finish should support the brand, not just look impressive in isolation.
- Skipping the physical sample stage. A screen render and a physical sample in hand are not the same thing — approve the sample before the full run.
- Underestimating handling, not just unboxing. A box that looks great being opened on camera also has to survive a warehouse, a courier and a doorstep.
- Ignoring lead time when planning a launch. Structural dielines, sample approval and production all take real time — build it into your launch schedule early.
A Practical Checklist Before You Order
- Product dimensions measured from the real, finished item — not estimated
- Weight and fragility assessed to define protection and insert requirements
- Structure chosen (rigid, folding carton, mailer or other) to match order volume and use case
- Material selected to match product weight and the premium level the brand needs
- Brand colours confirmed against Pantone/PMS references
- Finishes chosen to support the brand story, not layered on for their own sake
- Insert and protection requirements clearly defined
- Dieline — and a 3D render where available — reviewed before production begins
- Physical sample approved before committing to the full production run
- Lead time checked against your launch or delivery date
Getting each of these right before placing an order is what separates packaging that looks good in a render from packaging that performs in the real world — on shelf, in transit, and in a customer's hands.